Gel nail stickers have become the go-to solution for achieving beautiful, long-lasting manicures at home. These innovative nail stickers combine the durability of gel polish with the ease of stickers, offering a quick way to flaunt stylish nails without the need for salon visits. In this guide, we’ll walk you through the step-by-step process to apply gel nail stickers like a pro and ensure your nails stay flawless for days. Lehmani at Home Gel Nails has become a trusted name in this space, offering a gel nails at home, salon-quality alternative for individuals who want to achieve professional-looking nails without leaving their homes.
What You’ll Need to Apply Gel Nail Stickers
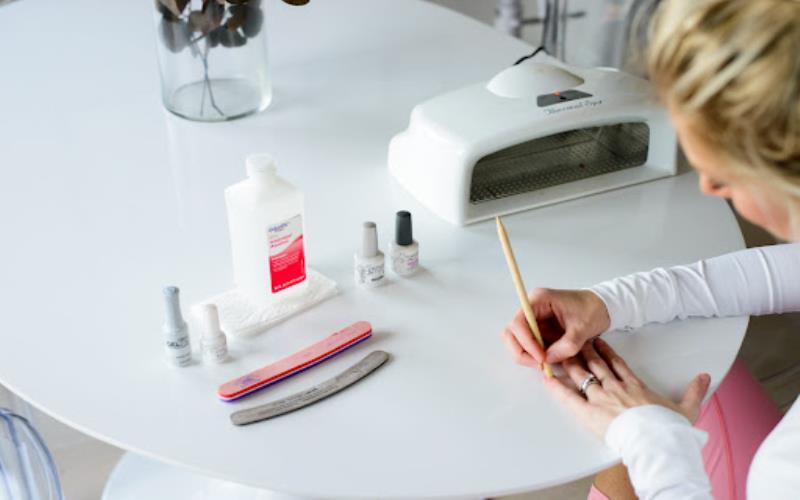
Before starting, make sure you have the following tools on hand:
- Gel nail stickers in your preferred design
- Nail buffer to smooth the surface
- Nail clippers or scissors
- Nail file for shaping
- UV or LED lamp (optional for longer wear)
With these essentials, you’re ready to create a stunning manicure in minutes.
Step-by-Step Guide to Applying Gel Nail Stickers
Step 1: Prepare Your Nails
Proper preparation is key to long-lasting results.
- Remove oils or old polish using nail polish remover.
- Gently push back the cuticles with a cuticle pusher to create a smooth base.
- Lightly buff your nails to ensure the stickers grip well.
Step 2: Shape and File Your Nails
Shape your nails to your desired style, whether square, almond, or oval.
- Ensure smooth, even edges to prevent the stickers from lifting.
- Well-shaped nails contribute to a professional and polished appearance.
Step 3: Select the Right Sticker Size
Picking the correct size is essential for a flawless look.
- If a sticker is slightly wide, stretch it gently to fit the nail.
- If a sticker is too narrow, choose a larger size and trim the edges for a custom fit.
The right size ensures the manicure looks natural and seamless.
Step 4: Apply the Gel Nail Stickers
Carefully peel the sticker from the backing and place it at the base of your nail.
- Smooth the sticker towards the tip to avoid air bubbles or wrinkles.
- Use a cuticle pusher to press down the edges securely.
- Repeat this for each nail for a uniform appearance.
Step 5: Trim and File for a Perfect Finish
After all the stickers are applied:
- Trim any excess material with nail scissors or clippers.
- File the tips gently in a downward motion to prevent lifting.
Step 6: Cure the Gel Nail Stickers (Required)
To ensure the stickers bond properly, curing with a UV or LED lamp is essential.
- Cure the stickers under the lamp for the recommended time to harden the gel.
- (Optional) Apply a gel topcoat for added shine and protection.
- Cure the topcoat under the UV/LED lamp to seal the edges and enhance durability.
This curing step is critical to lock in the stickers and prevent chipping or lifting. Do not skip curing the stickers before applying a topcoat, as the stickers need to be fully set beforehand for optimal results.
Tips for a Long-Lasting Manicure with Gel Nail Stickers
- Smooth out bubbles: Use a cuticle pusher to remove any air bubbles during application.
- Seal with topcoat: A gel topcoat extends the life of your stickers and adds extra gloss.
- Avoid water for the first hour: Keep your nails dry to allow the stickers to bond firmly.
Maintaining Your Gel Nail Stickers
To keep your manicure looking fresh for days:
- Apply a topcoat every few days to maintain shine and prevent wear.
- If a sticker starts to lift, gently press it down and reapply a thin layer of topcoat.
- Replace individual stickers as needed to keep your manicure looking flawless.
Why Gel Nail Stickers Are a Game-Changer
Gel nail stickers offer a fast and affordable solution for anyone looking to keep their nails on point without spending hours at the salon. With minimal tools and easy application, you can create stunning designs from the comfort of your home.
These stickers give you the flexibility to change up your look anytime, without the commitment of traditional gel polish. Plus, they come in a wide variety of colors, patterns, and finishes—perfect for any occasion or personal style.